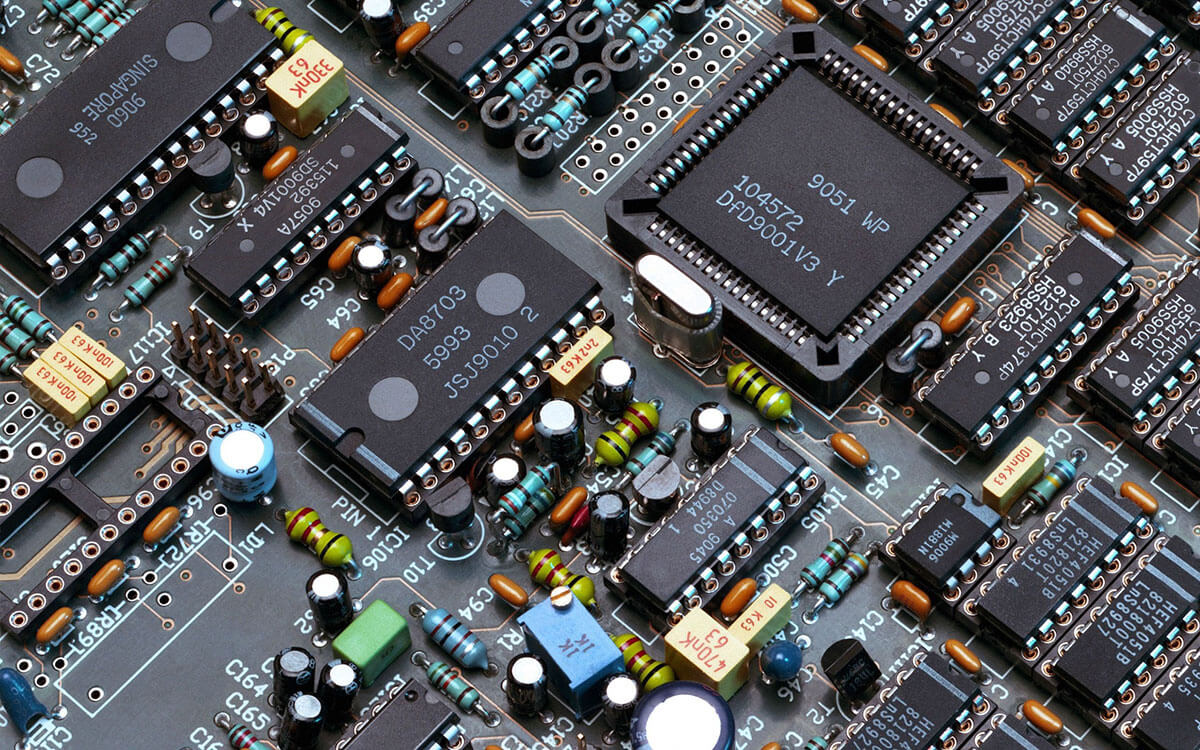
Testing a circuit is a crucial step in the electronics design and troubleshooting process. Whether you're a seasoned engineer or an electronics enthusiast, understanding how to effectively test your circuit ensures its functionality, reliability, and performance. In this comprehensive guide, we explore the multifaceted aspects of circuit testing, providing insights and techniques to empower you in ensuring the success of your electronic projects.
1. Visual Inspection: The First Line of Defense
Before diving into electronic testing tools, start with a visual inspection. Check for loose connections, damaged components, or soldering issues. A keen eye can often catch potential problems early in the process.
2. Multimeter Mastery: Voltage, Current, and Resistance Checks
Utilize a multimeter, a versatile tool for measuring voltage, current, and resistance. Perform the following checks:
- Voltage Check: Measure voltages at key points in the circuit to ensure they align with expectations.
- Current Check: Confirm that the current flowing through the circuit matches the design specifications.
- Resistance Check: Verify resistance values to ensure components are within their specified tolerances.
3. Continuity Testing: Ensuring Uninterrupted Paths
Continuity testing helps identify open circuits and ensures a clear path for current flow. Use a multimeter in continuity mode to check for connectivity between different points in your circuit.
4. Logic Analyzer: Delving into Digital Signals
For digital circuits, a logic analyzer is indispensable. It allows you to visualize and analyze digital signals, ensuring that logic levels and timing align with the intended design.
5. Oscilloscope Insights: Capturing Waveforms
An oscilloscope provides a visual representation of voltage waveforms over time. Use it to observe signal characteristics, identify abnormalities, and troubleshoot issues related to frequency, amplitude, or noise.
6. Signal Generator: Stimulating Responses
A signal generator injects test signals into the circuit, allowing you to observe how the circuit responds. This is particularly useful for checking amplifier stages, filters, and frequency-dependent components.
7. Thermal Imaging: Spotting Overheating Issues
Thermal imaging cameras can identify overheating components in your circuit. Excessive heat can indicate a problem, and thermal imaging helps prevent potential failures by detecting anomalies.
8. Functional Testing: Verifying Overall Operation
Beyond individual component tests, perform functional testing to ensure that the entire circuit operates as intended. Input signals, observe outputs, and validate the overall functionality of your electronic design.
9. Simulation Software: Virtual Testing Ground
Before physical testing, leverage simulation software to model and analyze your circuit. This allows you to predict performance, identify potential issues, and optimize your design before hardware implementation.
Conclusion: Empowering Your Electronic Endeavors
In conclusion, mastering the art of testing your circuit involves a combination of visual inspection, essential tools like multimeters and oscilloscopes, and specialized equipment for digital or thermal analysis. Adopting a systematic testing approach empowers you to identify and address issues efficiently, ensuring the success of your electronic projects. Whether you're a professional engineer or a passionate hobbyist, the ability to test circuits effectively is a cornerstone of electronics expertise.
